Introduction to WordPress Security
WordPress security is an essential aspect of maintaining a website, as it guards against various cyber threats that can compromise website integrity and sensitive information. As one of the most popular content management systems globally, WordPress is a frequent target for hackers and malicious actors. Reports indicate a significant increase in cyber-attacks specifically aimed at WordPress sites, emphasizing the importance of robust security measures from the onset.
Implementing effective WordPress security settings right after installation can significantly reduce the risk of unauthorized access and data breaches. By taking proactive steps to secure the site, website owners can protect not only their own interests but also the privacy of their users. Given the extensive use of WordPress for e-commerce, personal blogs, and corporate websites, safeguarding these platforms is critical to maintaining user trust and operational continuity.
It is crucial to understand that the nature of threats to WordPress sites is constantly evolving. Attackers utilize a range of methods, from brute-force attacks to exploiting known vulnerabilities in outdated themes and plugins. As such, relying on default security measures is insufficient. Backing up data, using strong passwords, and employing a reliable web hosting service are foundational steps in fortifying a WordPress site against potential breaches.
Moreover, the dynamic nature of online security necessitates a continuous approach to safeguarding WordPress sites. Regularly updating themes, plugins, and the WordPress core, coupled with implementing advanced security plugins, plays an essential role in defending against emerging vulnerabilities. In recognizing the essential settings to enhance WordPress security, site owners can take informed steps towards creating a resilient online presence in today’s digital landscape.
Creating strong, unique passwords is a fundamental aspect of securing your WordPress installation. Weak passwords remain one of the most common vulnerabilities that malicious actors exploit, making it vital to prioritize password strength during the initial setup and throughout your site’s operation. A robust password should be at least 12 characters long and include a combination of uppercase letters, lowercase letters, numbers, and symbols. This complexity significantly enhances the difficulty of cracking your password through brute force attacks.
When selecting a password, avoid using easily guessed information such as birthdays, names, or common words. Instead, consider using a passphrase—a memorable yet complex combination of words used in an unconventional manner. Another effective technique is to create an acronym from a sentence, making it both unique and personal. For instance, “I enjoy hiking every summer in the mountains!” could translate to “IeH3Sm!” This method strengthens your password’s complexity while still being easier to remember.
To further bolster your password security, employing password managers can be a game changer. These tools generate strong, random passwords for each of your accounts and securely store them for easy access. Popular password managers include LastPass, Dashlane, and 1Password. By centralizing and encrypting your passwords, you remove the burden of memorizing multiple complex passwords while ensuring that each account remains protected by a unique combination.
Lastly, it is important to regularly update your passwords and monitor for any unauthorized access to your accounts. Setting strong passwords and employing management tools not only mitigates the risks of hacking but also is essential to maintaining a secure WordPress environment.
Changing the Default Admin Username
One of the first steps in fortifying your WordPress security post-installation is to address the vulnerability posed by the default ‘admin’ username. This universal username is commonly targeted by malicious actors because it is well-known among hackers. Using ‘admin’ as your username can significantly increase the risk of unauthorized access to your WordPress site. Attackers frequently launch brute force attacks, which can quickly exploit this predictable username combined with a weak password to gain control over the site.
To mitigate these risks, it is imperative to change your default admin username to something less recognizable and more complex. This process involves a few straightforward steps, but first, it is crucial to ensure you have a secure backup of your website. This backup will safeguard your data in the event that anything goes wrong during the username change process.
There are two primary ways to change your admin username: using phpMyAdmin or creating a new administrator account. The former requires accessing your database through your hosting provider’s control panel. Once in phpMyAdmin, locate the ‘wp_users’ table, select the row corresponding to the admin user, and edit the ‘user_login’ field to your desired username. However, this method requires familiarity with databases and carries risks if not handled correctly.
The more straightforward method involves creating a new administrator account. Log in to your WordPress dashboard and navigate to ‘Users’ and then ‘Add New’. Fill in the required details with a strong username and password, ensuring it is distinctly different from what you previously used. After creating the new account, log out and sign in with the new username. Finally, you can delete the original admin account, transferring any existing content to the new user profile. By implementing these changes, you enhance the security of your WordPress site significantly.
Implementing Two-Factor Authentication
Incorporating two-factor authentication (2FA) into your WordPress security protocols significantly enhances the protection of your account. 2FA requires users to provide two forms of identification before accessing their accounts, typically combining something they know, like a password, with something they possess, such as a mobile device. This additional layer of security can thwart unauthorized access, even if passwords are compromised.
One of the primary benefits of 2FA is its ability to deter potential intruders. As cyber threats become increasingly sophisticated, relying solely on passwords can no longer be considered a foolproof security measure. 2FA acts as a safety net, ensuring that even in cases where a password is stolen, the attacker would still require access to the second factor, often performed through a smartphone app that generates time-sensitive codes or sends a text message to confirm identity.
To set up two-factor authentication on your WordPress site, you can utilize several popular plugins dedicated to this function. Plugins like Google Authenticator, Wordfence Security, and Authy are widely recommended for their robust features. To start the setup, first, install your chosen plugin from the WordPress Plugin Directory. Once installed and activated, navigate to the plugin’s settings.
Follow the on-screen instructions to enable 2FA for your user accounts. This generally involves scanning a QR code with a mobile authentication app, which will then generate unique verification codes each time you log in. It is crucial to save backup codes provided by the plugin; these will serve as an alternative login method if you lose access to your primary 2FA method. By implementing two-factor authentication, you significantly bolster your WordPress security strategy, protecting your site and its valuable content from potential threats.
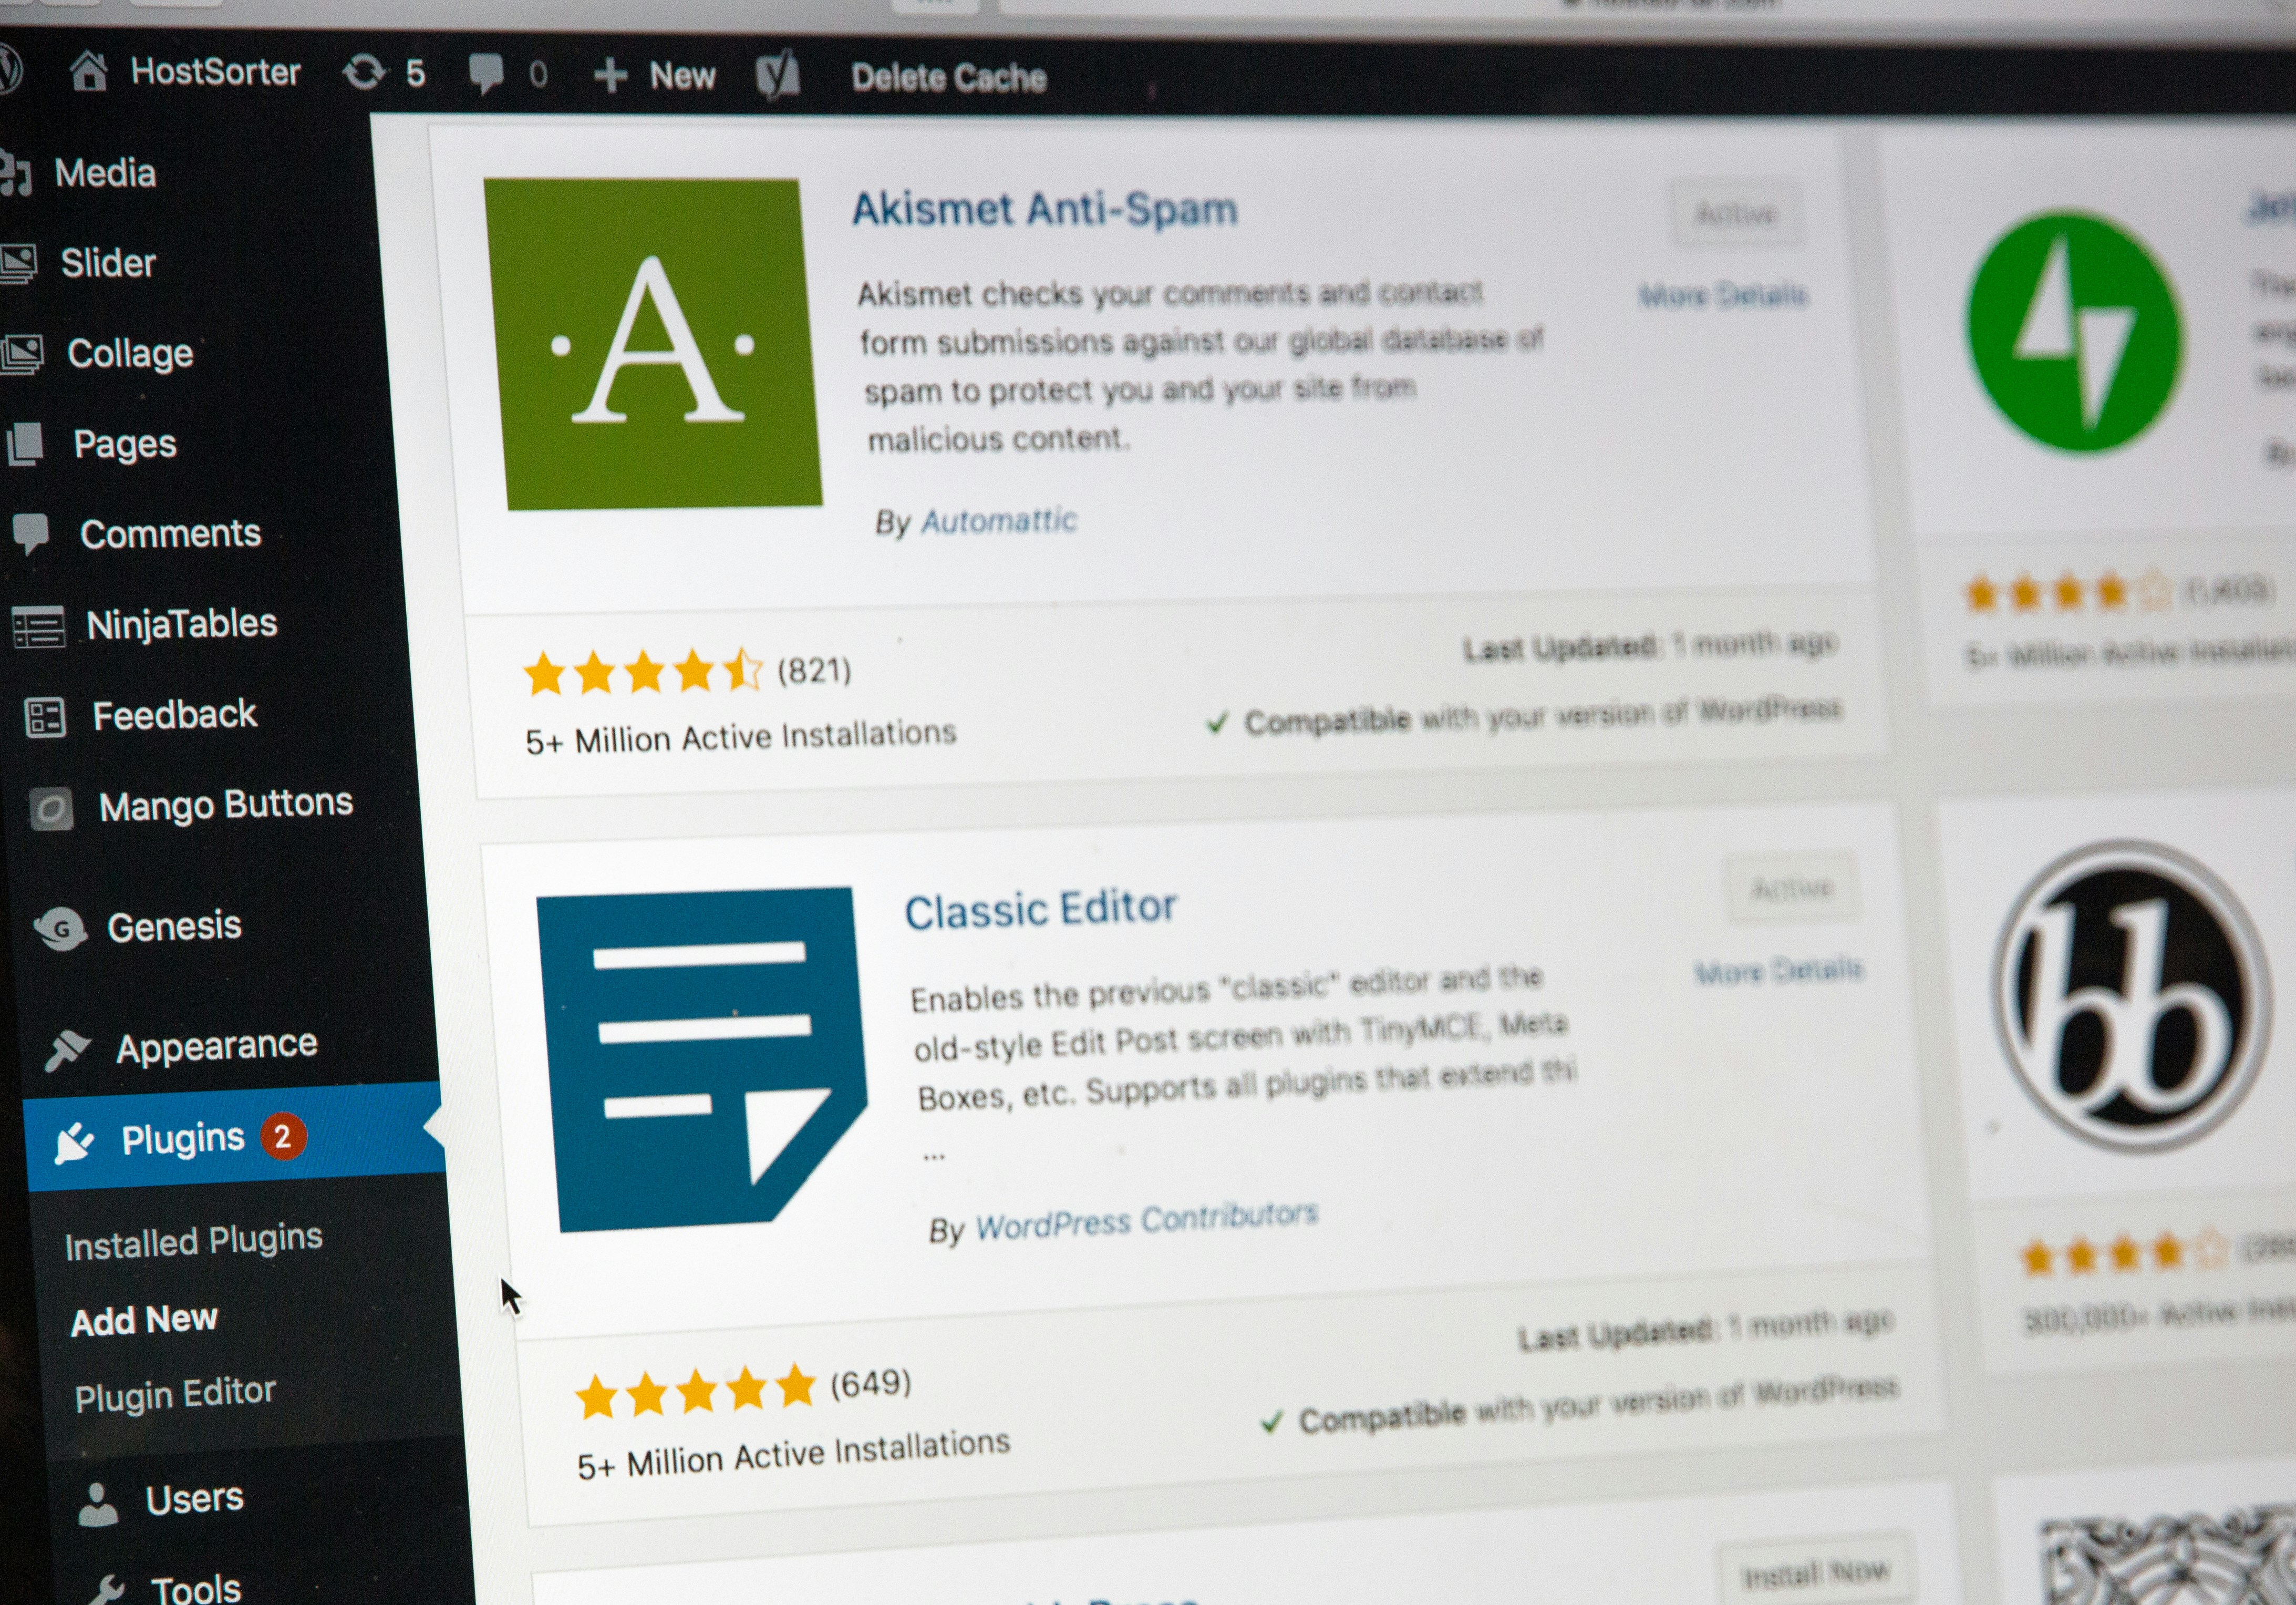
Installing a WordPress Security Plugin
One of the critical steps in hardening your WordPress site against potential threats is to install a robust WordPress security plugin. These plugins are designed to provide various functionalities that enhance your site’s overall security by preventing unauthorized access, mitigating risks, and ensuring ongoing protection. When selecting a security plugin, it is essential to consider the specific features that align with your security requirements.
Some of the most popular WordPress security plugins include Wordfence, Sucuri Security, and iThemes Security. Wordfence is well-known for its comprehensive firewall protection and malware scanning capabilities. It offers real-time threat defense and includes a built-in security scanner that checks for vulnerabilities in themes and plugins. Additionally, it provides login attempt tracking to help prevent brute-force attacks, making it a robust option for users who prioritize real-time protection.
Sucuri Security, another highly regarded plugin, offers a suite of security features that include malware scanning, security activity auditing, and post-hack security actions. This plugin is particularly beneficial for users who need advanced monitoring and remediation options. Furthermore, Sucuri provides a web application firewall that can help block attacks before they reach your website.
iThemes Security is designed to enhance your site’s security with over 30 ways to secure and protect your WordPress site. Features such as enforcing strong passwords, database backups, and file change detection contribute to a well-rounded security approach. It also includes options for two-factor authentication, which adds an extra layer of security for user logins.
Setting Strong Passwords
Choosing the right WordPress security plugin should be based on your site’s specific needs, the level of protection desired, and your technical familiarity. By leveraging these tools effectively, you can significantly bolster your website’s defenses against potential threats and vulnerabilities.
Regular Backups and Their Importance
In the realm of WordPress security, regular backups emerge as a fundamental practice that every site owner should prioritize. A backup entails creating a duplicate of your website’s files and database, preserving them in a secure location. This process is vital because it acts as a safeguard against data loss due to various threats such as cyber-attacks, accidental deletions, or server failures. Without a reliable backup system in place, recovering your site can be an arduous task, potentially resulting in significant downtime and loss of audience trust.
Implementing a routine backup schedule ensures that you have the most up-to-date version of your site readily available, mitigating the risks associated with unforeseen incidents. A common recommendation is to perform backups at least once a week, although daily backups may be warranted for websites with frequent updates or high traffic. By adhering to this schedule, you guarantee that your content and customer data are secured effectively.
Several backup plugins and services offer user-friendly solutions for WordPress users. Popular options include UpdraftPlus, BackupBuddy, and VaultPress. These tools provide automated backup features, allowing site owners to configure and customize their backup settings to suit their needs. Additionally, many of these plugins support cloud storage options such as Google Drive or Dropbox, ensuring that your backups are stored securely off-site.
In addition to using a plugin, it is advisable to perform periodic manual backups as an extra precaution. This practice adds an additional layer of security and ensures that you have control over your backup files. By prioritizing regular backups, you not only enhance your WordPress site’s security but also gain peace of mind, knowing that you are well-prepared for any potential challenges that may arise.
Keeping WordPress Core, Themes, and Plugins Updated
Maintaining the security of a WordPress site heavily relies on the regular updating of the WordPress core, themes, and plugins. Outdated software is one of the most common vulnerabilities exploited by cybercriminals. When developers release updates, they often patch known security risks and vulnerabilities that could be taken advantage of by malicious actors. Therefore, ensuring that your WordPress instance remains current is paramount for safeguarding your website.
Running an obsolete version of WordPress, or failing to update your themes and plugins, exposes your site to potential data breaches, unauthorized access, and various other security threats. Cybersecurity professionals emphasize that many hackers specifically target websites that utilize outdated versions of software because these websites are much easier to compromise. Consequently, keeping your WordPress, along with all associated themes and plugins, up-to-date is essential for maintaining a strong security posture.
To facilitate timely updates, WordPress offers an automatic update feature for minor releases, which is turned on by default. However, users should review their settings and make sure this feature is enabled for significant updates as well. Additionally, it is advisable to periodically check for updates manually within the WordPress dashboard. When updates are available, it is best practice to apply them promptly to reduce the risk of vulnerabilities.
Before executing any updates, users should also back up their website. This precautionary measure ensures that in the event of an unsuccessful update or compatibility issues, the previous version of the website can be restored without significant loss. Furthermore, maintaining compatibility with the latest versions of themes and plugins is critical, as developers often optimize their products with each new WordPress release.
Configuring File Permissions
File permissions play a critical role in securing a WordPress website. They determine who can read, write, or execute files and directories on your server. By correctly configuring file permissions, website owners can protect sensitive information and prevent unauthorized access, thereby enhancing the overall security of their WordPress sites.
In a typical WordPress installation, three types of users can have permissions associated with files: owner, group, and public. Assigning the right permissions to each of these users is essential for maintaining security while ensuring that the website functions correctly. The recommended file permissions for WordPress directories are generally 755, while files should be set to 644. These settings allow the owner to read and write files, while the group and public can only read them.
To configure file permissions, you can use an FTP client or a file manager that comes with your web hosting control panel. Once logged in, navigate to your WordPress installation directory. Here’s how you can set these permissions:
- Select a file or directory to change its permissions.
- Right-click and choose the ‘Permissions’ or ‘Change Permissions’ option.
- Set the numeric value (e.g.,
755for directories and644for files). - Click ‘OK’ or ‘Apply’ to save the changes.
Furthermore, avoid using 777 permission, as it grants full access to everyone, thereby creating a significant security risk. Regularly auditing your file permissions is also advisable. Ensuring they are set correctly can reduce vulnerabilities and provide an extra layer of security against potential attacks.
Securing the wp-config.php File
The wp-config.php file is a critical component of any WordPress installation, as it contains sensitive information such as database credentials, authentication keys, and filesystem permissions. Therefore, securing this file is paramount to maintain the overall security of your WordPress website. If an intruder gains access to the wp-config.php file, they can compromise the entire site and potentially gain full control over the sensitive information it contains.
One effective strategy for enhancing the security of the wp-config.php file is to move it to a non-public directory. By default, this file is located within the root directory of your WordPress installation. However, by moving it one directory level up, you effectively prevent web access to it, thereby adding a layer of protection. For most users, this adjustment can significantly mitigate risks associated with web-based attacks.
In addition to relocating the wp-config.php file, setting the proper file permissions is another essential measure. The recommended permission settings for the wp-config.php file are typically 440 or 400, which restricts access to the owner while denying permissions to the group and others. This means that only the server can read the file, which is a critical step in safeguarding your configuration details from unauthorized access.
Other best practices include regularly updating your WordPress installation, ensuring all plugins and themes are up to date, and using plugins that can help to reinforce security. Furthermore, implementing regular backups ensures that you can restore your site quickly should a security incident occur. By taking these steps, the integrity of the wp-config.php file can be maintained, safeguarding the entire WordPress installation from potential threats.
Disabling Directory Listing
Directory listing is a feature on web servers that displays the contents of a directory when an index file, such as index.php or index.html, is not present. This functionality can inadvertently expose sensitive files and directories to anyone who visits the website. When directory listing is enabled, a potential attacker can view a structured listing of the files in a given directory, allowing them to gather information about the site’s structure, look for vulnerabilities, and potentially exploit any exposed files or folders. As such, it is crucial to ensure that directory listing is disabled to enhance the overall security of your WordPress site.
Disabling directory listing in WordPress can effectively minimize this security risk. One of the primary methods to achieve this is through editing the site’s .htaccess file, which governs the server’s configuration settings. If you are unfamiliar with file editing, it is advisable to back up your site before making changes, as incorrect modifications can lead to accessibility issues.
To disable directory listing, access your WordPress site’s root directory using an FTP client or via your hosting provider’s file manager. Once there, locate and open the .htaccess file. If it is not visible, you may need to enable the display of hidden files in your FTP client. After you have accessed the .htaccess file, you can add the following line of code:
Options -Indexes
Save the changes and upload the file back to the server. This simple addition instructs the server to deny requests for directory listings. It is advisable to check your website afterward to ensure that everything is functioning correctly. Implementing this change not only safeguards sensitive information but also reinforces the site’s overall security posture, making it a vital step after installing WordPress.